
Sora 2 vs Runway Gen-4 Turbo: Which AI Video Tool Wins in February 2026?
February 25, 2026
Vercel AI SDK February Update: Edge Runtime Under 50ms and Streaming That Actually Works
February 26, 2026
“Should I buy a camera first, or a microphone?” — That’s the number one question I get about YouTube music production channel equipment. After 28 years in the audio industry, the answer is surprisingly simple: get the microphone first. Viewers will tolerate 720p video, but they’ll bounce from your channel within 10 seconds if your audio sounds like it was recorded inside a tin can.
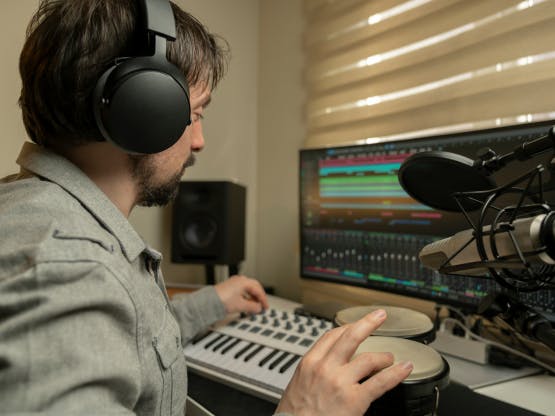
Why Audio Comes First for Your YouTube Music Production Channel Equipment
According to FluxNote’s 2026 YouTube microphone guide, viewer bounce rates are far more sensitive to audio quality than video quality. For a music production channel, this principle doubles in importance — your mixdowns, beatmaking sessions, and plugin comparisons all live and die by how they sound.
Microphone Recommendations by Budget
- Entry ($100): Rode NT-USB Mini — Compact, plug-and-play, perfect for tutorial voiceovers
- Mid-range ($130): Blue Yeti — Four pickup patterns (cardioid, bidirectional, omnidirectional, stereo) make it incredibly versatile for podcast-style commentary and instrument recording
- Professional ($399): Shure SM7dB — Built-in preamp eliminates the need for a Cloudlifter, broadcast-grade quality that scales with your channel
Audio Interfaces: The Heart of Your Music Channel
You can start with a USB microphone, but if you’re running a music production channel, you’ll eventually need an XLR mic paired with a proper audio interface. Sonarworks’ 2026 Home Studio Checklist recommends USB4 or Thunderbolt 4 interfaces for rock-solid stability. The Focusrite Scarlett 2i2 ($160) remains the gold standard for beginners — its Auto Gain and Clip Safe features mean you’ll never clip a recording during a live session again.
Video Gear: Your Smartphone Is Enough to Start
Here’s a stat that might surprise you: over 85% of viral TikTok content in 2025 was shot on smartphones. YouTube is no different. A recent iPhone or Galaxy shoots 4K, and for screen capture of your DAW sessions, OBS Studio is completely free.
Camera Upgrade Roadmap
- Level 1 (Free): Smartphone camera + OBS Studio for screen recording
- Level 2 ($600): Sony A6400 (used) — Outstanding autofocus, great for filming live production sessions
- Level 3 ($1,500+): Canon R6 Mark II — Professional 4K 60fps, dual pixel AF, the camera you’ll never outgrow
Lighting: Start With a Window
Natural light is your best friend. Face the window, not away from it. For night sessions, Neewer LED panels ($30-80) deliver the best bang for your buck. Ring lights ($40-200) also work well for close-up content where viewers need to see your hands on the controller or keyboard.

Computer and DAW: 2026 Spec Requirements
Running music production and video editing simultaneously demands serious computing power. The 2026 recommended baseline is Apple Silicon M3/M4 or AMD Ryzen processor, minimum 32GB RAM, and a fast NVMe SSD. If you’re working with AI plugins or immersive formats like Dolby Atmos, these specs aren’t overkill — they’re the minimum for a smooth workflow.
DAW + Video Editing Software Stack
- DAW: Logic Pro, Ableton Live, Reaper (essentially free), Studio One
- Video Editing: DaVinci Resolve (free with professional color grading), Final Cut Pro ($300, Mac only)
- Screen Recording: OBS Studio (free, doubles as streaming software)
Complete Setup Combos by Budget
Under $500: Minimal Starter Kit
- Smartphone camera + OBS Studio
- Rode NT-USB Mini ($100)
- Natural light or Neewer LED ($30)
- DaVinci Resolve (free)
- Existing computer + free DAW (Reaper/GarageBand)
$1,000–$1,500: Balanced Setup
- Sony A6400 used ($600)
- Shure SM7dB ($399) + Focusrite Scarlett 2i2 ($160)
- Two Neewer LED panels ($60-160)
- Tripod + desk mount ($50-100)
- DaVinci Resolve + Logic Pro or Ableton Live
$3,000+: Professional Studio
- Canon R6 Mark II ($1,500+)
- Shure SM7dB + Universal Audio Apollo Twin ($700+)
- Professional lighting kit (Godox, $200-400)
- Studio monitors + acoustic treatment (bass traps, absorption panels)
- Apple Silicon Mac + Pro DAW + Adobe Premiere Pro
Acoustic Treatment: The Most Overlooked Investment
Even the most expensive microphone will sound amateur in an untreated room. Bass traps in the corners and broadband absorbers at first reflection points can dramatically transform your recording quality. Sonarworks SoundID Reference lets you calibrate your studio monitors and headphones for consistent monitoring across any environment — it’s the secret weapon that separates bedroom producers from professionals.
The real secret to building a successful YouTube music production channel isn’t having perfect gear — it’s starting with the right gear and upgrading strategically as you grow. You can launch a professional-looking channel for under $500. What matters most is content quality and consistency. The gear can always catch up later.
Studio Monitors vs. Headphones: The $500 Decision
This is where most new YouTube music producers get stuck. You’ve got $200 left in your budget — do you grab studio monitors or professional headphones? The answer depends entirely on your room acoustics and content format.
When to Choose Headphones First
If you’re recording in an untreated bedroom or apartment with thin walls, headphones win every time. The Beyerdynamic DT 770 Pro ($179) or Audio-Technica ATH-M50x ($149) will give you consistent, reliable monitoring that translates well to other systems. More importantly for YouTube content, closed-back headphones eliminate mic bleed during live commentary sessions.
Monitor Speakers for Visual Content
Here’s something most equipment guides miss: if your channel focuses on visual beatmaking or mixing tutorials, monitors create better content. Viewers can see your hand movements, controller interactions, and overall studio vibe. The Yamaha HS5 ($199 each) or JBL 305P MkII ($149 each) are industry standards that sound great on camera and deliver professional results.
- Yamaha HS5: Flat response, trusted by professionals, slightly forward midrange perfect for vocal-heavy content
- JBL 305P MkII: More bass extension, better for hip-hop and electronic content, built-in room EQ
- PreSonus Eris E3.5: Budget option at $99, surprisingly good for YouTube compression
Screen Recording and DAW Optimization
Your DAW is your most important visual tool, but most producers overlook how it appears on camera. After reviewing hundreds of music production channels, the difference between amateur and professional presentation often comes down to screen recording setup and DAW optimization.
OBS Studio Configuration for Music Production
OBS Studio is free, but the default settings are terrible for DAW capture. Set your canvas resolution to 1920×1080, use the x264 encoder at “fast” preset, and most importantly — record at 60fps. Modern DAWs have smooth animations and real-time visualizers that look choppy at 30fps. Your bitrate should be at least 6,000 kbps for clean waveform and spectrum analyzer capture.
Pro tip: Create separate scenes for full DAW view, close-up mixing console shots, and picture-in-picture with your face cam. Switching between these during tutorials keeps viewers engaged and makes complex production concepts easier to follow.
DAW Theme and Layout Considerations
Dark themes look professional but can create contrast issues on YouTube’s compressed video. Logic Pro’s “Light” theme, Ableton Live’s “Light” skin, and Pro Tools’ default gray actually perform better for tutorial content. Increase your track heights by 20-30% from your normal workflow — tiny waveforms and minuscule plugin text are impossible to see on mobile devices.
Essential Accessories That Make the Difference
The gap between amateur and professional YouTube channels often comes down to small details. These accessories might seem minor, but they solve real problems that derail recording sessions and frustrate viewers.
Cable Management and Power Solutions
Nothing kills the professional vibe like cables everywhere. A simple cable management tray ($25) under your desk keeps XLR, USB, and power cables organized and out of frame. More importantly, a dedicated power conditioner like the Furman M-8×2 ($89) eliminates ground loops and power noise that can ruin hours of recorded content.
- Pop Filter ($15-30): Mandatory for vocal recording, but also essential for commentary during beat sessions
- Boom Arm ($40-80): Gets the mic out of your workspace and improves ergonomics during long sessions
- Acoustic Treatment ($50-150): Even basic foam panels behind your recording position dramatically improve audio quality
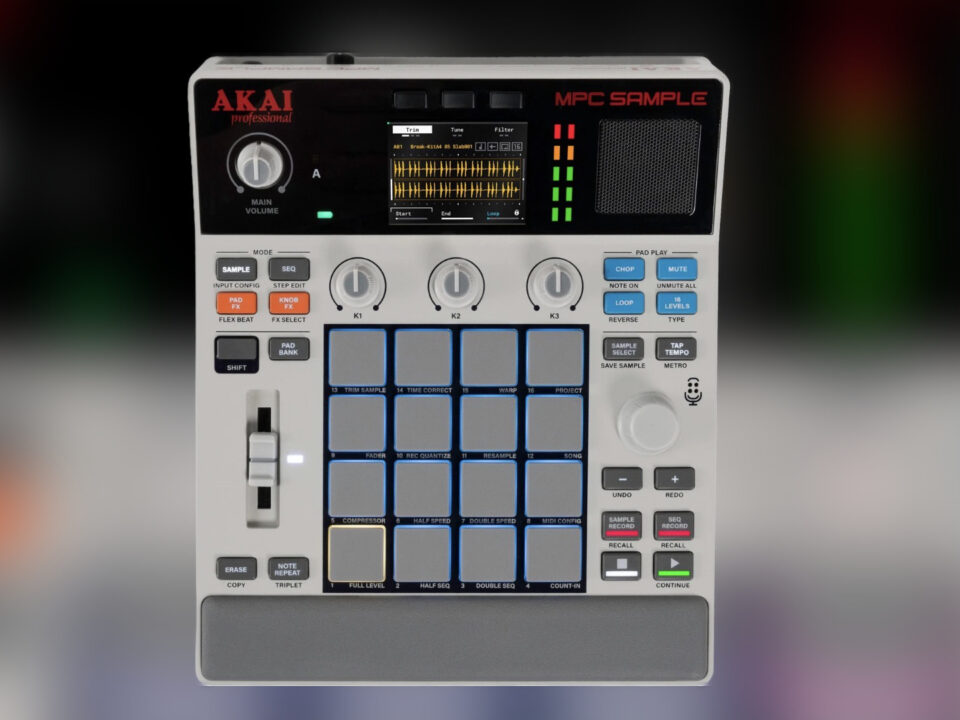
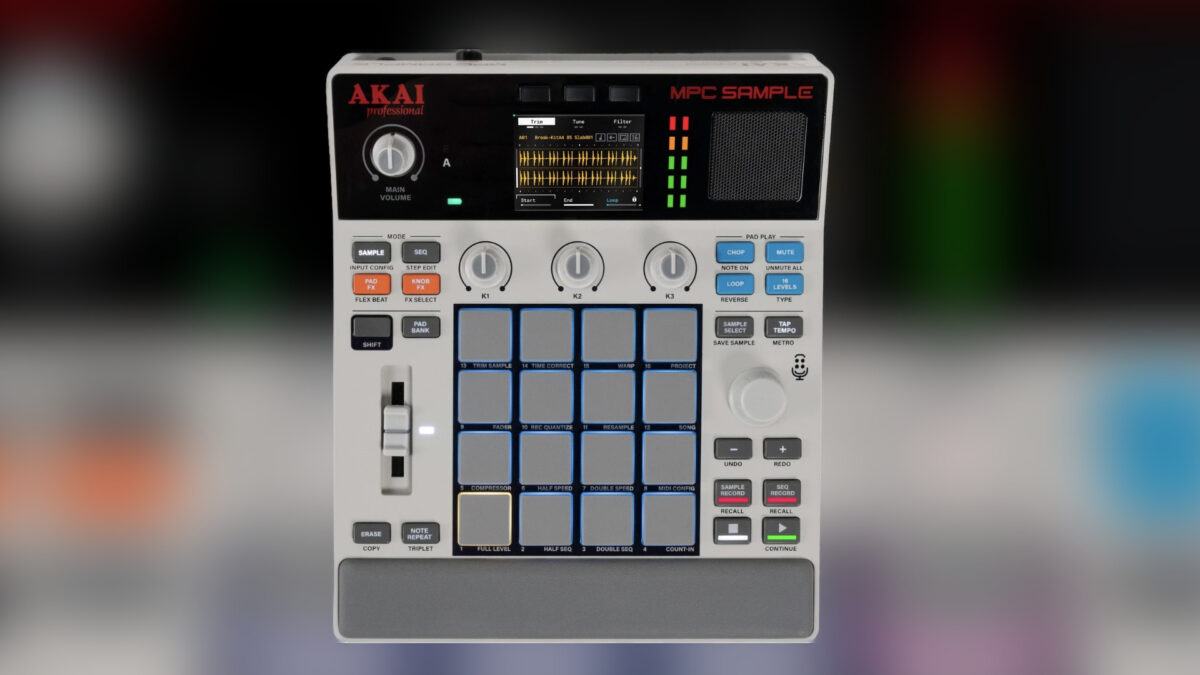
The MIDI Controller Question
For YouTube content, your MIDI controller serves double duty — it’s both a production tool and a visual element. The Akai MPK Mini MK3 ($119) fits perfectly in frame and gives you enough keys and pads for demonstrations. If your budget allows, the Arturia KeyLab Essential 61 ($199) provides full-size keys that look professional on camera and actually improve your playing for tutorials.
Content-Specific Equipment Strategies
Different types of music production content require different equipment priorities. A beatmaking channel has completely different needs than a mixing tutorial channel or a plugin review series.
Beatmaking and Live Production Channels
Speed and workflow are everything for beatmaking content. Your interface needs zero-latency monitoring — the Focusrite Scarlett series and PreSonus AudioBox USB 96 ($99) both deliver sub-5ms round-trip latency. Position your camera to capture both your hands and the computer screen simultaneously. The overhead angle works best, which means a boom arm or overhead mount for your smartphone or camera.
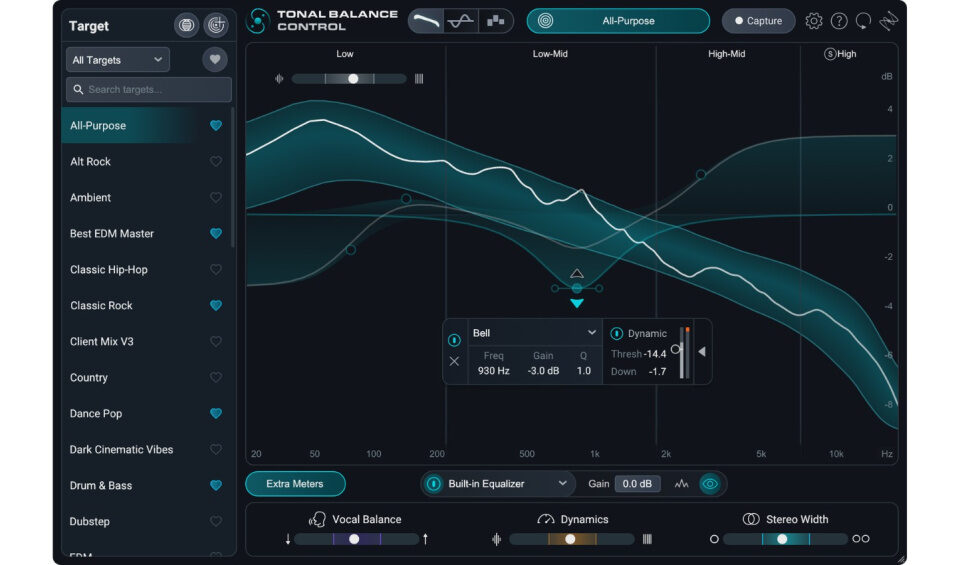
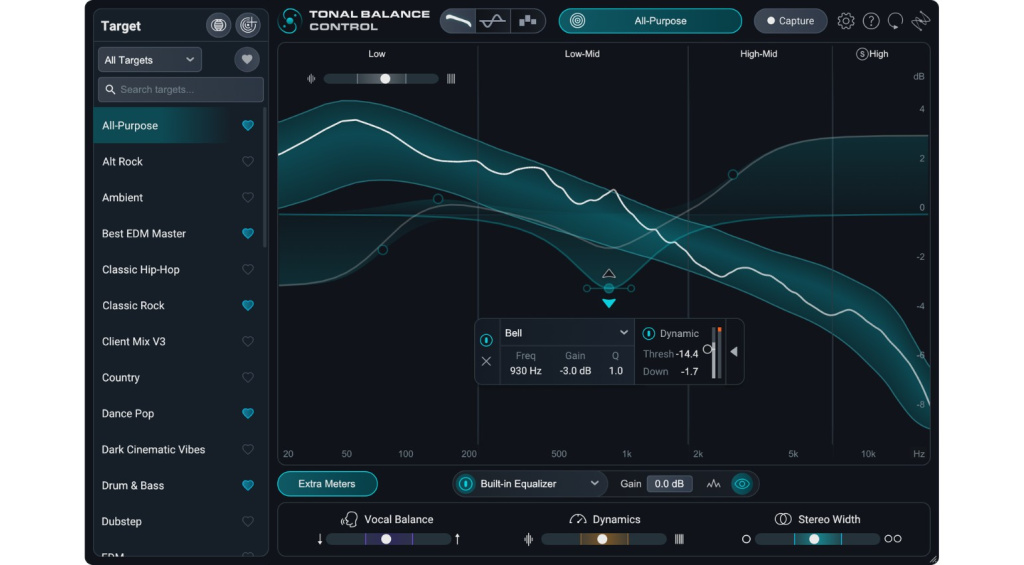
Mixing and Mastering Tutorial Channels
These channels live and die by audio accuracy. Invest in room treatment before expensive monitors — $100 worth of bass traps and acoustic panels will outperform $500 monitors in an untreated room. Your screen recording setup becomes critical here because viewers need to see precise EQ curves, compressor meters, and spectrum analyzers clearly.
Consider a secondary monitor positioned vertically for plugin GUIs — this creates better visual composition and makes it easier to demonstrate detailed settings without constantly switching windows.
Need expert advice on building your home studio or choosing the right YouTube music production channel equipment? Get personalized guidance from an audio engineer with 28 years of experience.