NVIDIA Project DIGITS Review: Hands-On with the $3,000 Desktop AI Supercomputer
May 14, 2025
Mechanical Keyboard Switches in 2025: Cherry MX2A vs Gateron vs Hall Effect — Which Actually Wins?
May 14, 2025
“Get the vocal right, and 80% of the mix is done.” After 28 years behind the console, I’ve heard that line hundreds of times — and it’s still true. But here’s what nobody tells you: vocal chain signal processing isn’t just about which plugins you use. It’s about the order you put them in. Swap your EQ and compressor, and the same exact settings will give you a completely different result. Today, I’m breaking down the precise chain order and real-world settings that actually work in professional sessions.
What Is Vocal Chain Signal Processing and Why Does Order Matter?
Vocal chain signal processing refers to the sequence of audio processors that a recorded vocal signal passes through, one after another. Each processor in the chain affects every processor that follows it. If you slap a compressor on before removing low-end rumble with an EQ, that compressor will react to frequencies you don’t even want — causing pumping, uneven dynamics, and a muddy result.
As Sound On Sound emphasizes in their vocal processing guide, signal chain order is the single most fundamental factor in determining your final vocal sound. The same FabFilter Pro-Q 3 and CLA-76 will yield drastically different results depending on where they sit in the chain.
The Pro Vocal Chain: 7 Steps of Signal Processing
Here’s the proven vocal chain order used by professional mix engineers worldwide. I’m drawing on guidelines from LANDR, iZotope, and Waves, combined with what I’ve validated over thousands of sessions.
Step 1: Gain Staging
Everything starts here. Before you touch a single plugin, set your vocal track’s peak level between -18dBFS and -12dBFS using clip gain or a utility plugin. This is the sweet spot where most plugins — especially analog-modeled ones — operate as intended. Skip this step, and every threshold, ratio, and boost amount downstream will be off.
- Peak level target: -18dBFS to -12dBFS
- RMS level: -24dBFS to -18dBFS recommended
- Too hot = internal plugin clipping
- Too low = poor signal-to-noise ratio
Step 2: Subtractive EQ — Remove What Doesn’t Belong
Before compression, clean up the signal. Apply a high-pass filter (HPF) at 80Hz to 100Hz to eliminate low-end rumble, proximity effect, and mic handling noise. Then address the muddy zone — a gentle 2dB to 4dB cut in the 200Hz to 400Hz range clears up boominess without thinning the vocal. For male vocals, the HPF can sit around 80Hz; for female vocals, 100Hz to 120Hz is more appropriate.
Plugin recommendation: FabFilter Pro-Q 3 excels here with its dynamic EQ bands — set a band to only cut when a problematic frequency spikes, keeping the rest of the signal untouched. The SSL E-Channel strip’s EQ section also delivers musical curves that sit naturally on vocals.
- HPF: 80-100Hz (12dB/oct or 18dB/oct slope)
- Mud cut: 200-400Hz, -2dB to -4dB (wide Q)
- Nasal cut: 800Hz-1kHz, narrow Q, -2dB if needed
- Harshness: 2.5kHz-4kHz, narrow Q, -1dB to -3dB if needed
Step 3: Compression — Dynamic Control
This is the heart of any vocal chain. According to Waves’ plugin chain guide, an FET-style compressor like the CLA-76 delivers the fast transient control that vocals demand. Aim for 3dB to 7dB of gain reduction on the loudest phrases, with peaks hitting 5dB to 10dB of reduction.
For more transparent results, use serial compression — two compressors in sequence, each doing moderate work. The first compressor (FET-style like the CLA-76 or 1176) catches fast transients with 3dB to 5dB of gain reduction. The second (optical-style like the LA-2A) provides gentle leveling with 2dB to 3dB of additional reduction. This approach sounds far more natural than crushing 8dB through a single compressor.
- FET compressor (CLA-76, 1176): Ratio 4:1, fast attack, release matched to vocal tempo
- Optical compressor (LA-2A style): Natural leveling, slower attack/release
- Serial compression: First stage 3-5dB GR + second stage 2-3dB GR
- Total gain reduction: 5-8dB (more than 10dB kills the life)
Step 4: De-Esser — Taming Sibilance
After compression, sibilance (“s”, “sh”, “ch” sounds) becomes more pronounced. Compression reduces overall dynamics, which makes those high-frequency transients relatively louder. Target the 6kHz to 10kHz range — typically centered around 7kHz to 8kHz — with 3dB to 6dB of reduction only when sibilance occurs.
Plugin recommendations: FabFilter Pro-DS offers excellent visual feedback for precise de-essing. oeksound Soothe2 goes beyond traditional de-essing — it’s a dynamic resonance suppressor that can tame harshness across the entire spectrum. The Waves Renaissance De-Esser remains a reliable, straightforward option. Be careful not to overdo it — excessive de-essing creates a lispy, unnatural sound.
- Target frequency: 6kHz-10kHz (usually centered at 7kHz-8kHz)
- Reduction: 3dB-6dB (only active during sibilant moments)
- Split-band mode recommended (wideband dulls the entire high end)
- Male vocals: 5kHz-7kHz / Female vocals: 7kHz-10kHz

Step 5: Additive EQ — Adding Character
Now that the signal is clean and dynamically controlled, it’s time to add character. Boost the presence range (1kHz to 4kHz) by 2dB to 4dB to help the vocal cut through the mix. A high-shelf boost of 1dB to 3dB in the air region (10kHz to 15kHz) adds openness and sparkle.
This is where analog-modeled EQs shine. The Maag EQ4‘s legendary Air Band (centered around 40kHz with sub-harmonic influence) and Pultec EQP-1A-style broad boosts deliver a musical quality that surgical digital EQs can’t replicate. These tools add harmonic richness alongside the frequency boost itself.
- Presence: 1kHz-4kHz, +2dB to +4dB (wide bell)
- Air: 10kHz-15kHz, +1dB to +3dB (high shelf)
- Body: 200Hz-300Hz, +1dB to +2dB (only for thin vocals)
- Excessive boosting causes harshness — anything above 3dB, proceed with caution
Step 6: Saturation — Warmth and Presence
Harmonic saturation adds analog warmth and rich overtones to your vocal. Tape saturation, tube saturation, and transistor saturation each have distinct characters. The key word is “subtle” — keep the dry/wet blend between 10% and 30% for natural results.
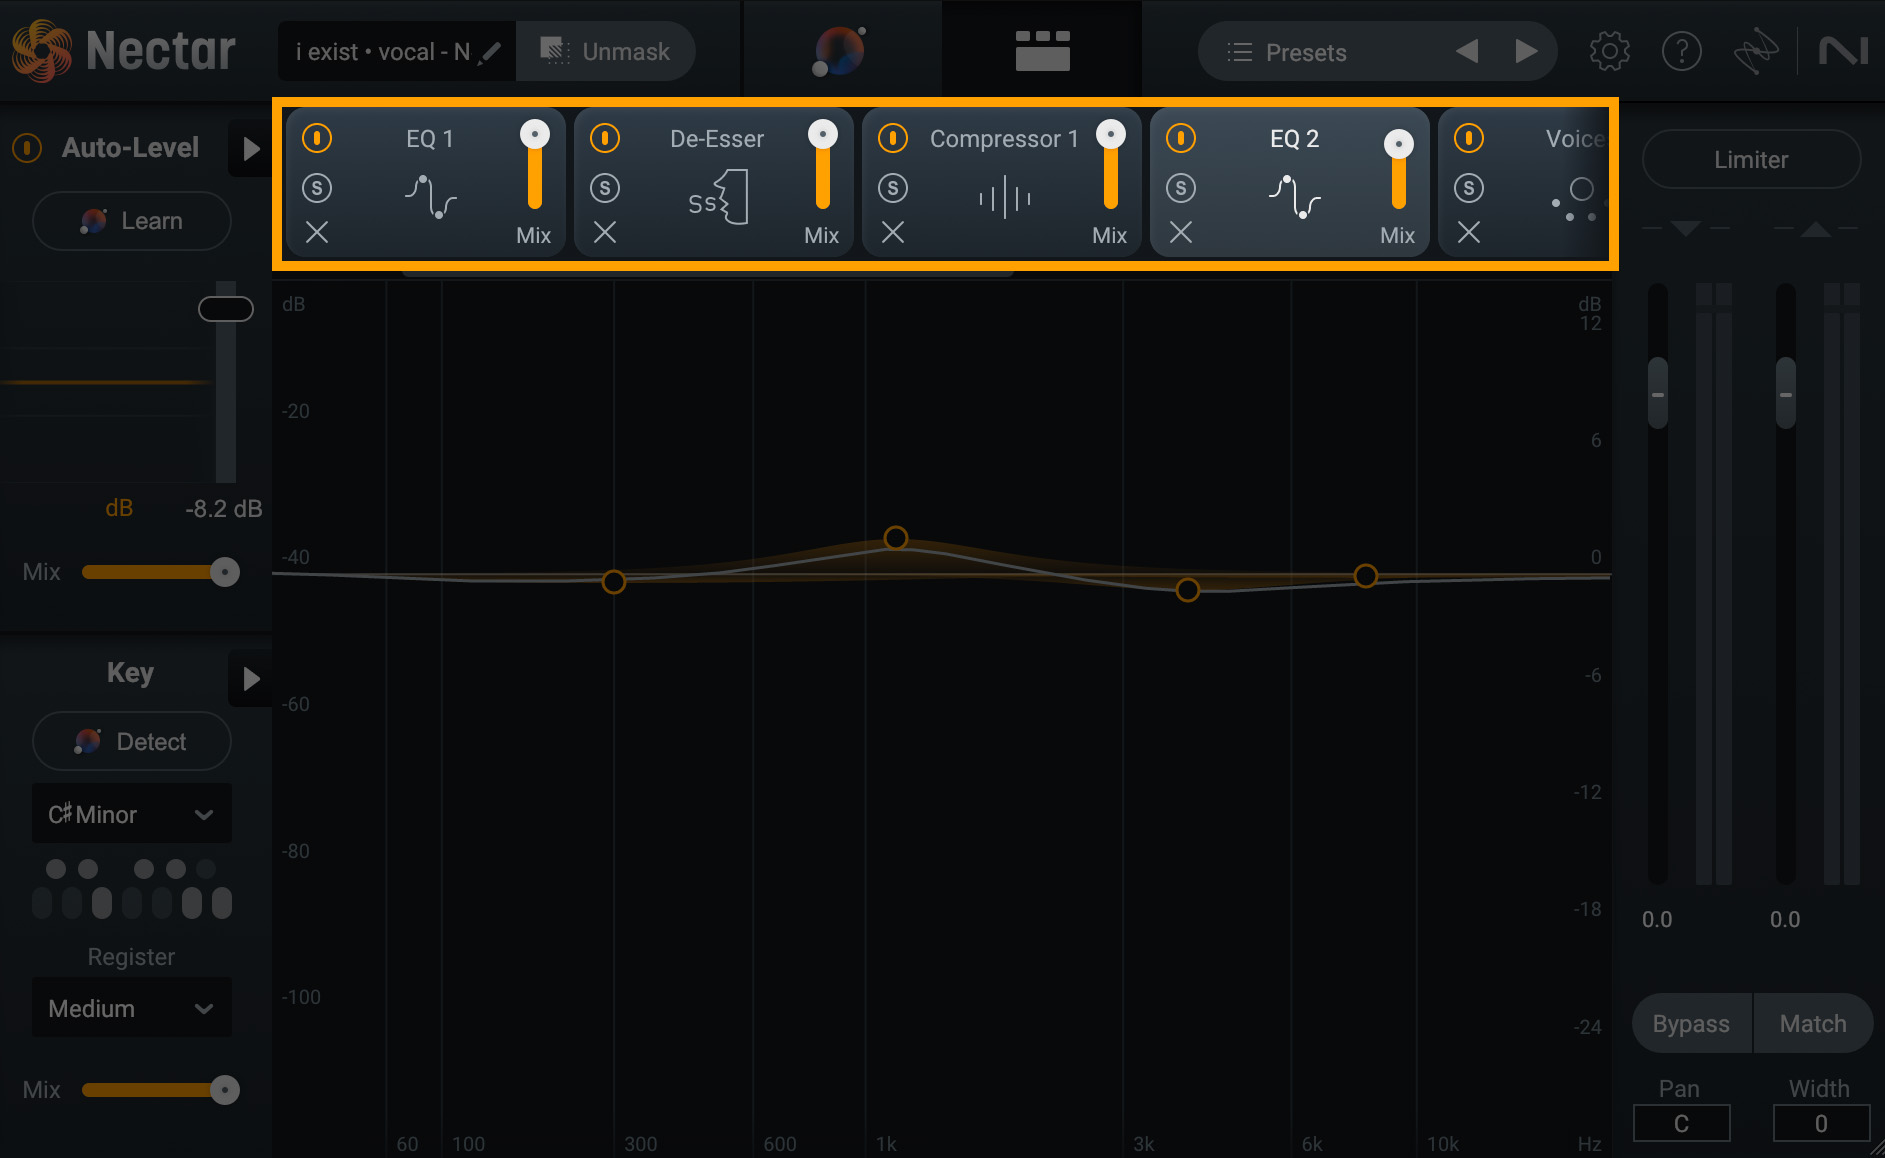
Plugin recommendations: Soundtoys Decapitator offers multiple saturation styles from subtle tape warmth to aggressive transistor grit. iZotope Nectar 4‘s saturation module is specifically optimized for vocal harmonics. FabFilter Saturn 2 provides multiband saturation — keep the low end clean while adding warmth to the mids and highs only.
Step 7: Reverb and Delay — Space (Via Sends)
Time-based effects belong on send/return (aux) tracks — never on inserts. When you insert reverb directly on the vocal track at 100% wet, the dry signal disappears. Sends let you keep the dry vocal at full volume while blending in exactly the amount of space you want.
- Plate reverb: 1.2s-2.0s decay, excellent vocal affinity
- Room reverb: 0.5s-1.0s, natural spatial context
- Slapback delay: 80ms-120ms, doubling effect
- Quarter-note delay: tempo-synced, rhythmic repetition
- Reverb pre-delay: 20ms-40ms (maintains clarity)
- EQ your reverb return: HPF at 200Hz, LPF at 8kHz
Serial vs. Parallel Processing: When to Use Each
As Sonarworks explains in their effects chaining guide, processing approaches fall into two categories: serial and parallel. Mastering the combination of both is what separates amateur mixes from professional ones.
Serial processing passes the signal through one plugin after another in sequence — the 7-step chain described above. All corrective work — subtractive EQ, compression, de-essing — must be done in series. Each stage cleans up the signal for the next.
Parallel processing duplicates the original signal, processes the copy aggressively on a separate bus, then blends it back with the dry signal. The most common application is parallel compression (New York-style compression). You can crush the parallel bus with 10dB or more of gain reduction — because you’re blending it with the unprocessed vocal, you get incredible density without sacrificing transients or natural dynamics.
- Corrective processing (EQ cuts, de-essing, gating): Serial inserts
- Dynamic density (heavy compression): Parallel sends
- Character (saturation, exciters): Serial insert or parallel — your choice
- Time-based effects (reverb, delay): Always send/return
5 Common Mistakes and How Pros Fix Them
These are the errors I see repeatedly in mixing sessions — whether from students, assistants, or even experienced engineers having an off day. Avoiding these will immediately elevate your vocal sound.
Mistake 1: Skipping gain staging. If you don’t set proper levels before processing, every threshold, ratio, and EQ boost will be miscalibrated. Use clip gain (not the channel fader) to get peaks sitting at -18dBFS to -12dBFS before inserting a single plugin.
Mistake 2: Compressing before subtractive EQ. When low-end rumble or proximity effect hits the compressor, it triggers gain reduction on frequencies you don’t want in the mix anyway. Always clean up with subtractive EQ first.
Mistake 3: Over-compressing with a single plugin. Slamming 10dB or more of gain reduction through one compressor flattens the vocal and kills its natural dynamics. Use serial compression (two stages of moderate reduction) or parallel compression to maintain life and energy.
Mistake 4: Inserting reverb directly on the track. Putting reverb on an insert at 100% wet mix buries the dry vocal signal. Always use send/return routing for time-based effects. Bonus tip: EQ your reverb return — cut below 200Hz and above 8kHz to keep the reverb from cluttering the mix.
Mistake 5: Mixing vocals in solo. Your vocal may sound perfect in solo mode, but context is everything. Final processing decisions — especially EQ and compression amounts — should always be evaluated with the full mix playing. What sounds bright in solo might be perfect in context, or vice versa.
My Take: What 28 Years in Audio Taught Me About Vocal Chains
After nearly three decades behind studio consoles, here’s what I’ve learned about vocal chain signal processing that no tutorial will tell you: the plugins matter far less than your ears. When I started my career mixing on SSL 4000 consoles, the tools were completely different from today’s ITB (In The Box) workflow — but the decision-making process is identical. The question isn’t “which compressor should I use?” It’s “what role does this vocal need to play in this song?” That question should be the starting point for every chain you build.
I’m seeing a wave of AI-powered processing tools right now — iZotope Nectar 4’s Assistant, oeksound Soothe2’s automatic resonance detection, and others. These tools genuinely speed up the workflow, and I use them as starting points. But in my experience, I almost never use an AI suggestion as-is. The AI gets you to 70% — the last 30% requires human judgment about the song’s mood, the vocalist’s unique timbre, and how the vocal sits against the arrangement. Relying entirely on automation gets you “averagely acceptable” results, not “perfect for this track” results.
One more thing: I keep genre-specific vocal chain templates in my DAW sessions. Ballads get optical compression for smoothness. Hip-hop gets aggressive FET compression. R&B gets more generous saturation. Rock gets parallel compression for density. These templates are my starting point for every session — but they’re starting points, not destinations. Every vocalist has a unique voice, and the chain must adapt to serve that voice. The best vocal chain is the one you can’t hear working.
Master these seven steps, understand why each processor sits where it does, and you’ll be able to build a professional vocal chain in any DAW with any plugin combination. The order is the foundation — everything else is refinement.
Need professional vocal mixing, mastering, or Dolby Atmos production? Let’s talk about your project.
Get weekly AI, music, and tech trends delivered to your inbox.


