
How to Create Professional FL Studio Beats: 7 Steps From Blank Project to Final Mix
May 23, 2025
Google Nest Hub Max 2: 5 Stunning Upgrades That Redefine AI Smart Displays
May 23, 2025
Making FL Studio beats has been the launchpad for countless platinum producers — and with the 2025 update introducing AI-powered tools, 500 dynamic mixer tracks, and the new Loop Starter, there’s never been a better time to master the craft from scratch. Whether you’re opening the DAW for the first time or looking to tighten up your production workflow, this guide walks you through every step — from your first kick drum to a polished, mix-ready track.
Why FL Studio Remains the Go-To DAW for FL Studio Beats
FL Studio has held its position as one of the most popular DAWs in the world for over two decades, and for good reason. Its pattern-based workflow — built around the Channel Rack and Step Sequencer — is purpose-built for beat making. Unlike linear DAWs that force you to think in terms of a timeline from the start, FL Studio lets you build individual patterns and then arrange them freely. This approach mirrors how most producers actually think about music: start with a drum loop, layer a melody, add a bassline, then piece it all together.
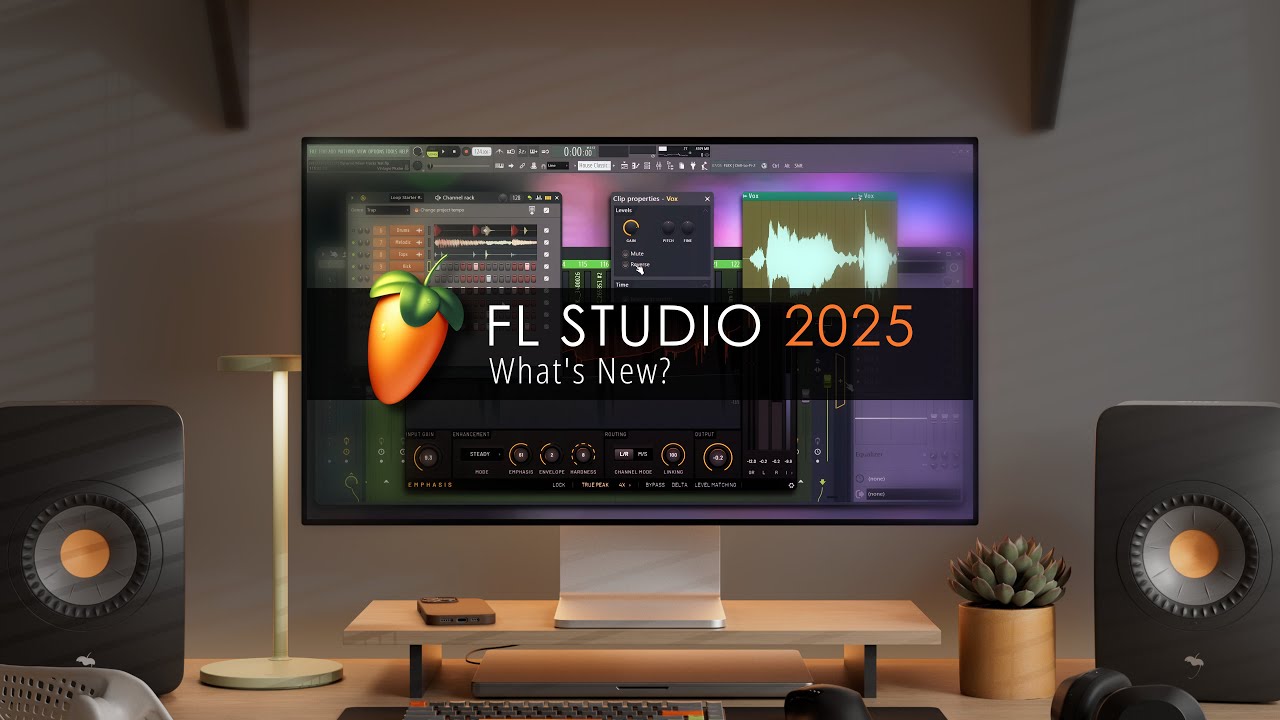
The FL Studio 2025 Public Beta 5, released on May 9, 2025, takes this further with features like Loop Starter — a genre-based loop stack system that gives you instant starting points — and the Gopher AI assistant that can help with routine tasks. Add 500 dynamic mixer tracks (up from the previous 125) and the new Mobile Rack with 7 instruments and 29 effects, and you have a production environment that scales from bedroom demos to studio-grade masters.
Step 1: Setting Up Your Project and Selecting Sounds
Before you place a single note, getting your project organized will save you hours of frustration later. Open FL Studio and start with a blank project. Set your tempo — 140 BPM for trap, 85-95 BPM for boom bap, 70-80 BPM for lo-fi, or 125-130 BPM for house. The tempo defines the feel of everything that follows, so choose it intentionally.
Sound selection is 80% of the battle. A weak kick or a thin snare will undermine even the best pattern. Here’s what to load into your Channel Rack:
- Kick: Choose a punchy, full-bodied kick. For trap, lean toward 808-style kicks with a longer tail. For boom bap, go for a tighter, more acoustic-sounding hit.
- Snare/Clap: Layer a snare with a clap for thickness. FL Studio’s built-in FPC drum machine has excellent layering capabilities.
- Hi-Hats: Grab both a closed and open hi-hat. You’ll use the closed hat for rhythm and the open hat for accents.
- Percussion: Shakers, rim shots, or cowbells add movement. Don’t overcrowd — one or two percussion elements is usually enough.
FL Studio ships with a solid library of one-shots and loops. The Packs folder in the Browser (left panel) contains categorized samples. The official Image-Line learning hub also features video tutorials by Synthet that walk through sound selection and Channel Rack basics. For 2025, the new Loop Starter feature also gives you genre-sorted loop stacks that can jumpstart your session — load one, deconstruct it, and replace elements with your own sounds.
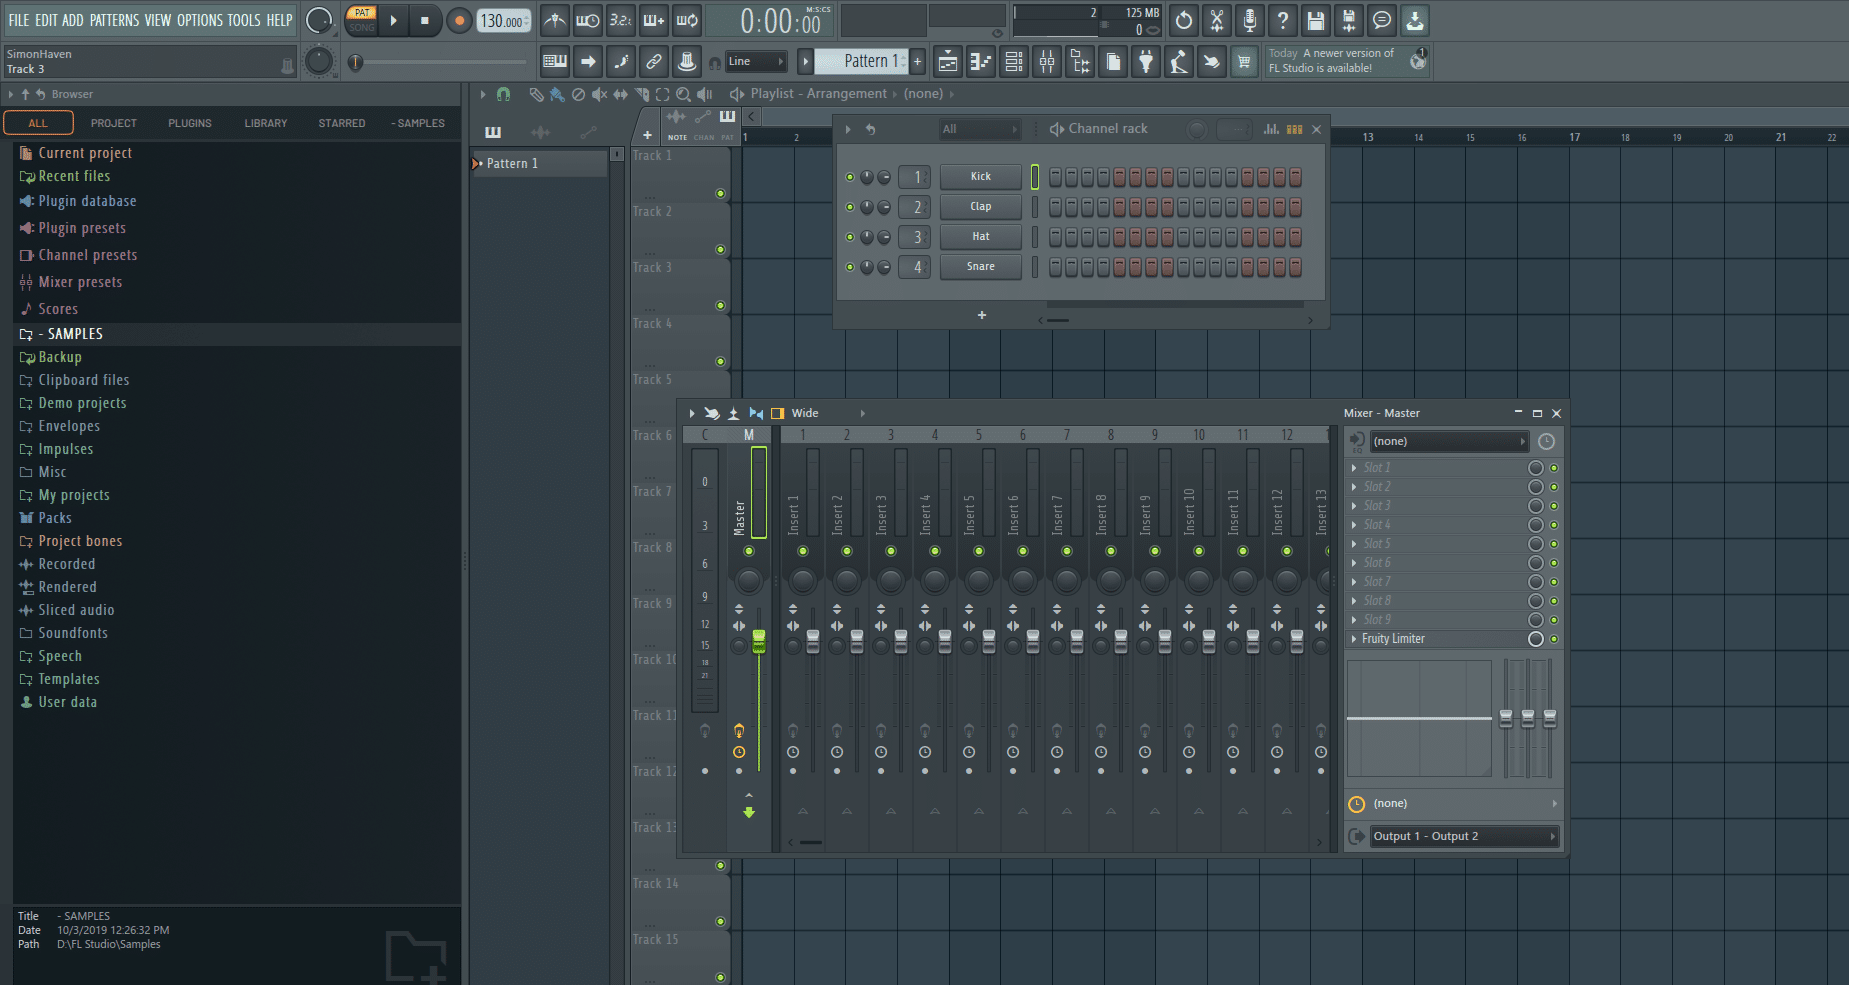
Step 2: Programming Drum Patterns in the Channel Rack
The Channel Rack is where your FL Studio beats come to life. Each row represents a different instrument, and the grid to the right is your Step Sequencer — 16 steps by default, representing one bar of music.
Building the Foundation: Kick and Snare
Start with the kick drum. For a basic trap pattern, place kicks on steps 1, 7, and 11. This creates a syncopated, bouncy feel. For boom bap, try steps 1, 4, 8, and 13 — more straight, more head-nod. The snare or clap typically lands on steps 5 and 13 (beats 2 and 4), which is the backbone of almost every hip-hop and pop beat.
Critical tip: Right-click the Step Sequencer and expand it to 32 steps for more nuanced patterns. This gives you two bars to work with, which prevents your beats from sounding repetitive too quickly.
Adding Hi-Hats and Percussion
Hi-hats are where the groove lives. For a straight feel, place closed hats on every other step (1, 3, 5, 7, etc.). For trap, you’ll want to get into the Piano Roll for more control — right-click the hi-hat channel, select “Piano Roll,” and program rapid 1/32 note rolls with varying velocities. This is how producers create those signature trap hi-hat patterns with rolls and stutters.
Velocity variation is non-negotiable. Nothing sounds more robotic than hi-hats all hitting at the same volume. In the Piano Roll, use the velocity lane at the bottom to create a natural dynamic arc — louder on the downbeats, softer on the ghost notes. Aim for a 20-30% velocity difference between accented and unaccented hits.
Add an open hi-hat on the “and” of beat 4 (step 16 in a 16-step pattern) for a classic lift before the pattern repeats. Use FL Studio’s channel layering to stack a shaker under the closed hats at a lower volume for extra texture without cluttering the mix.
Step 3: Crafting Melodies and Bass Lines in the Piano Roll
With your drums locked in, it’s time to add melodic elements. FL Studio’s Piano Roll is widely regarded as one of the best in any DAW — its note editing, chord tools, and scale highlighting make melody writing fast and intuitive.
Writing a Melody
Add a synth or instrument to the Channel Rack — FL Keys for a quick piano sound, Sytrus for analog-style synths, or FLEX for a massive library of modern presets. Open its Piano Roll and enable the scale highlighter (the wrench icon → Helpers → Scale highlighting). Choose a scale that matches your vibe — minor scales (Aeolian, Harmonic Minor) for darker moods, major or Mixolydian for brighter feels.
Start simple. A four-note melody that follows the chord progression is more effective than a complex run that fights the harmony. Use the pencil tool to place notes, and experiment with note lengths — staccato (short) notes create energy, while sustained notes create atmosphere. Leave space. The silence between notes is just as important as the notes themselves.
Pro technique: Use FL Studio’s “Stamp” tool (the stamp icon in the Piano Roll toolbar) to quickly insert chord shapes. Select a chord type, click to place it, then modify individual notes. This is faster than building chords note-by-note and helps you explore harmonic ideas quickly.
Designing the Bass Line
Your bass needs to lock in rhythmically with the kick drum and harmonically with the melody. Load an 808 bass (3x Osc with a sine wave works, or use a dedicated 808 plugin) and write a pattern that follows the root notes of your chords. For trap, long sustained 808 notes with pitch slides (glide/portamento) are the standard. For boom bap, shorter, punchier bass hits work better.
In the Piano Roll, right-click a note and select “Slide” to create pitch bends between notes — this is the signature sound of modern trap 808s. Keep your bass in the C1-C2 range for maximum weight. If the bass is competing with the kick, try sidechaining (more on that in the mixing section) or simply cutting the bass where the kick hits hardest.
Step 4: Arrangement — From Loop to Full Track
A beat is not a song until it has structure. This is where many producers get stuck — they create a great 8-bar loop but can’t turn it into a full track. FL Studio’s Playlist makes arrangement straightforward: each pattern you’ve built in the Channel Rack becomes a clip you can place, duplicate, and rearrange on the timeline.
Here’s a proven arrangement framework for a beat that’s ready for vocalists or standalone listening:
- Intro (4-8 bars): Start sparse. Maybe just the melody and some ambient texture, or drums with a filter sweep. Build anticipation.
- Verse (16 bars): Full drums, bass, and melody. This is your core loop.
- Pre-Chorus/Build (4-8 bars): Add a riser, increase hi-hat density, or introduce a new counter-melody.
- Chorus/Drop (8-16 bars): Everything at full energy. Layer additional percussion, open up filters, let the bass hit hardest.
- Verse 2 (16 bars): Slight variation — change the hi-hat pattern, introduce a new percussion element, or modify the melody slightly.
- Bridge (8 bars): Strip things back. Remove drums, let the melody breathe, create contrast before the final section.
- Outro (4-8 bars): Gradually remove elements. End clean.
Arrangement tip: Use FL Studio’s Playlist markers (right-click the bar number ruler) to label each section. Color-code your patterns — drums in red, melody in blue, bass in green. This visual organization makes it easy to see the structure at a glance and identify sections that need variation.
The key to a professional arrangement is contrast. If every section has the same energy level, the track feels flat. Create dynamics by adding and removing elements, using automation to change filter cutoffs or reverb levels, and varying the drum patterns between sections.
Step 5: Mixing Basics — Making Your FL Studio Beats Sound Professional
Mixing is where amateur beats become professional tracks. FL Studio’s Mixer has always been powerful, and with the 2025 update’s 500 dynamic tracks, you have more routing flexibility than ever. Here’s a focused mixing workflow:
Routing and Gain Staging
First, route every Channel Rack instrument to its own Mixer track. Right-click each channel, select “Route to this track,” and assign them to individual Mixer inserts. This gives you independent volume, panning, and effects control for every sound.
Set your levels so that the Master channel peaks around -6dB. This leaves headroom for mastering. Start with everything at zero, then bring in the kick first (it’s the foundation), followed by the snare, then bass, then melodic elements. This priority-based mixing approach ensures the most important elements always have space.
Essential Effects Chain
For each element, apply effects in this order on the Mixer insert:
- EQ (Parametric EQ 2): Cut low frequencies below 30Hz on everything except kick and bass. Cut muddiness (200-400Hz) from melodic elements. Boost presence (2-5kHz) on snares and hats for clarity.
- Compression (Fruity Limiter or Maximus): Use light compression (3-6dB gain reduction) on drums to add punch. Slower attack lets the transient through; faster release avoids pumping.
- Reverb (Fruity Reeverb 2): Add subtle room reverb to snares and melodic elements for depth. Keep the mix wet level low (10-20%) to avoid washing out the mix.
- Saturation (Fruity Soft Clipper): Add warmth to 808 bass by applying gentle saturation. This adds harmonics that make the bass audible on small speakers.
Sidechaining for Punch
Sidechain compression is essential for modern beats. Route the kick to trigger a compressor on the bass track, so the bass ducks slightly whenever the kick hits. In FL Studio, the easiest method is using Fruity Limiter on the bass track: link the kick’s Mixer track as a sidechain input, and adjust the compression threshold until you get a subtle pumping effect. FL Studio 2025’s new Transporter plugin with automatic sidechain detection makes this even easier — it detects the kick pattern and applies perfectly timed ducking without manual routing.
My Take: A Producer’s Perspective on Modern Beat Making
After 28 years in audio production, I’ve watched beat-making tools evolve from hardware samplers that cost more than a used car to software that fits in your pocket. FL Studio has been part of my toolkit since the FruityLoops days, and what strikes me most about the 2025 update is how it addresses the actual friction points in a producer’s daily workflow rather than adding flashy features nobody asked for.
The 500 dynamic mixer tracks might sound like overkill, but anyone who’s worked on a complex beat with layered drums, multiple synth patches, vocal chops, and effect returns knows how quickly you eat through mixer channels. I’ve hit the old 125-track limit on film scoring sessions more times than I’d like to admit. And the Gopher AI assistant, while still in its early stages, points toward a future where DAWs handle the tedious parts — track naming, basic routing, gain staging — so you can focus on the creative decisions that actually matter.
The one piece of advice I give every producer who asks me about beat making is this: constraints breed creativity. Don’t load 47 plugins and 200 samples before you’ve written a single note. Start with four sounds — kick, snare, hat, and one melodic instrument. Build a pattern that grooves with just those elements. If it doesn’t make you nod your head with four sounds, adding more won’t fix it. The professionals I’ve worked with over three decades — the ones who consistently deliver hits — all share this discipline. They commit to sounds early, work fast, and trust their ears over their eyes. FL Studio’s Channel Rack workflow actually encourages this approach better than most DAWs, because it forces you to think in patterns before arrangements.
Master the fundamentals covered in this guide — solid drum programming with velocity dynamics, intentional melody writing, tight bass design, structured arrangement, and clean mixing — and you’ll produce FL Studio beats that compete with anything on the streaming platforms. The tools have never been more accessible. The only variable left is how much time you’re willing to invest in the craft.
Whether you need professional mixing, mastering, or guidance on building your production workflow, Sean Kim brings 28 years of hands-on studio experience to every project.
Get weekly AI, music, and tech trends delivered to your inbox.


