DeepSeek 2025 Year in Review: How a 200-Person Lab Wiped $600B and Rewrote the AI Playbook
December 11, 2025
OpenAI 12 Days of Shipmas One Year Later: What Survived, What Evolved, and Why GPT-5.2 Changes Everything
December 12, 2025
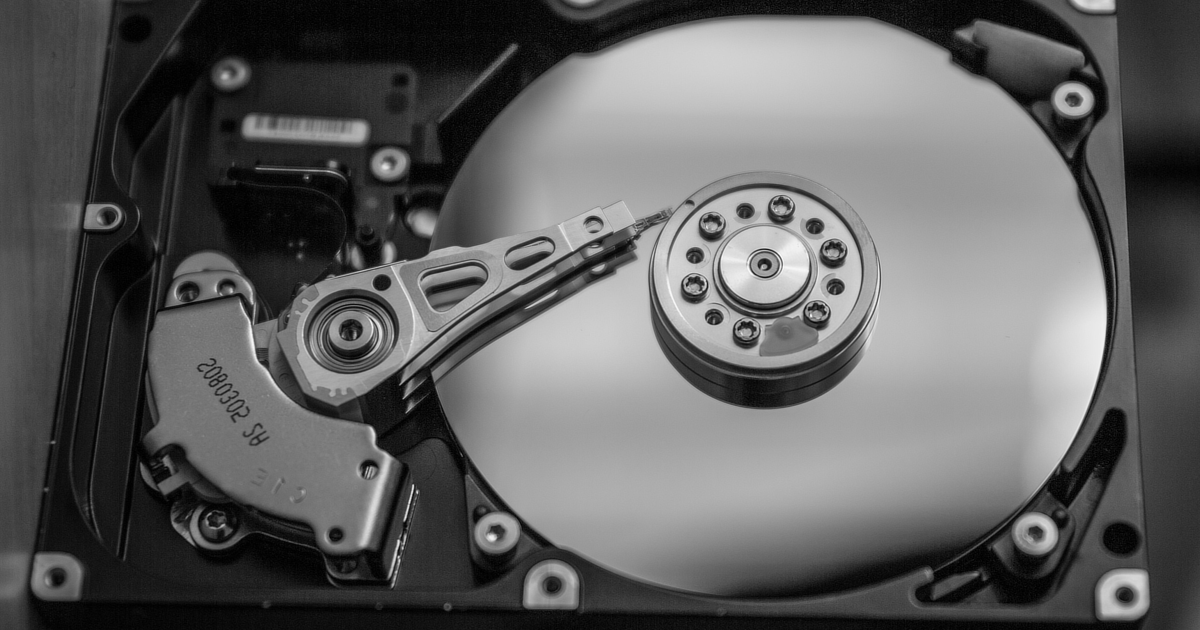
It’s December. Do you know exactly where every project file from this year lives right now? After 28 years of helping people archive music projects, I’ve learned one brutal truth: the question isn’t whether your hard drive will fail — it’s when. And when it does, hundreds of hours of work vanish in an instant.
The average external hard drive lasts just 3 to 5 years. If you’re reading this, there’s a good chance your only backup sits on a single drive in your studio. Year-end is the perfect time to get your house in order. This guide walks you through a complete system to archive music projects in five practical steps — with specific tools, pricing, and folder structures you can implement today.
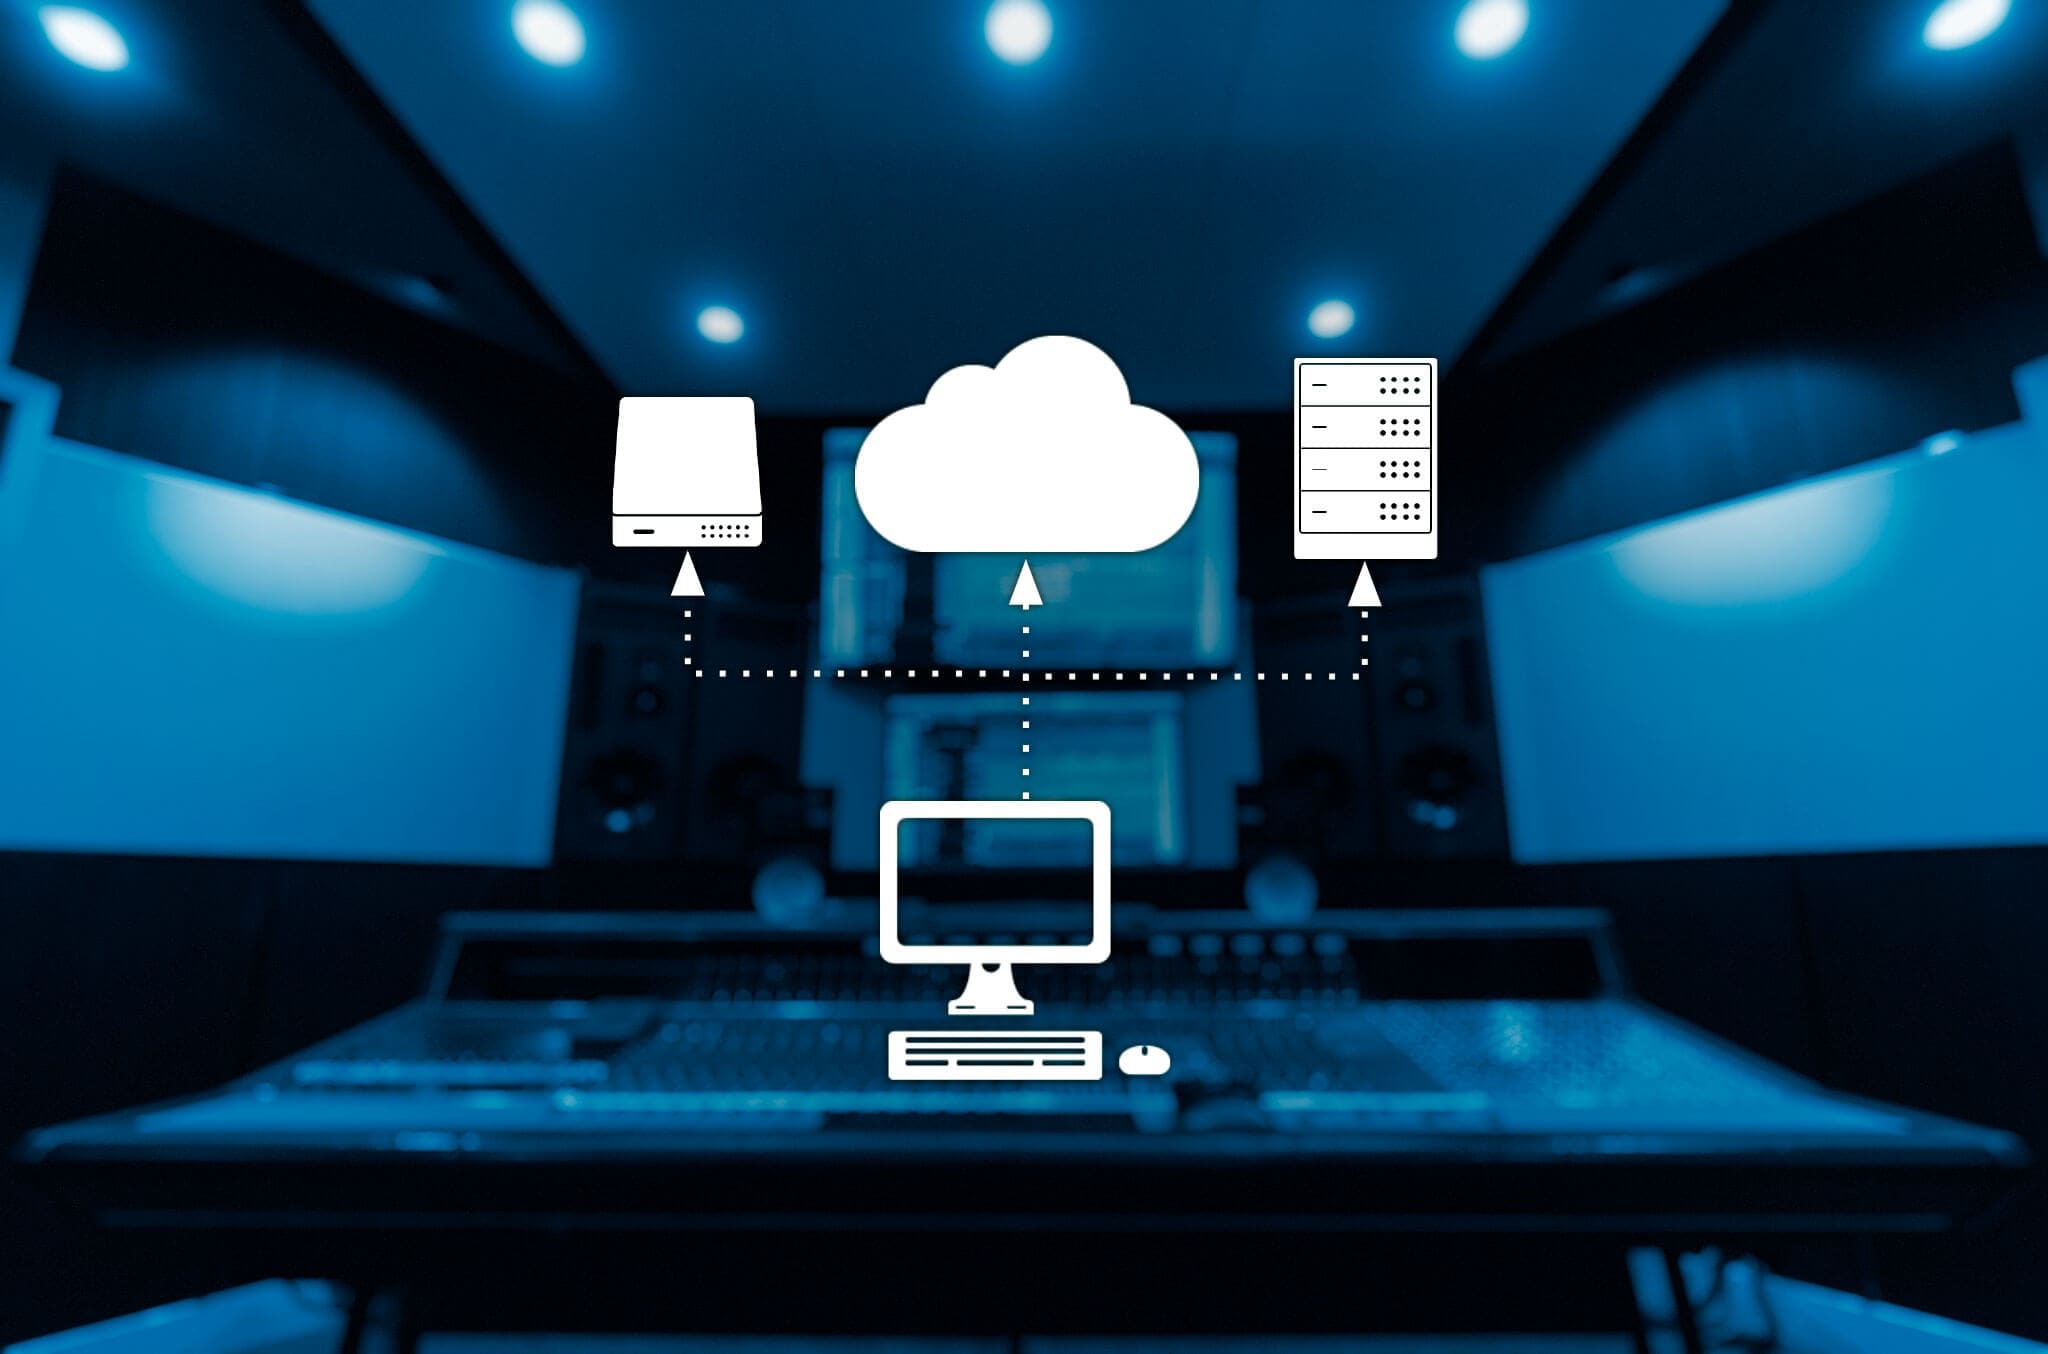
Step 1: The Foundation — Understanding the 3-2-1 Backup Rule for Music Projects
The 3-2-1 backup rule is the gold standard used by professional studios worldwide, and it’s the backbone of any serious strategy to archive music projects. The concept is simple: maintain 3 copies of your data, store them on 2 different types of media, and keep 1 copy offsite.
For music producers, this translates to a practical setup:
- Copy 1 (Working Drive): Your internal SSD or primary external SSD where active projects live
- Copy 2 (Local Backup): A separate external hard drive or NAS running automated backups (Time Machine on Mac, Macrium Reflect on Windows)
- Copy 3 (Offsite/Cloud): Cloud storage service — Backblaze, Dropbox, Google Drive, or a DAW-specific solution like Splice
As Product London’s backup guide emphasizes, relying on manual backups is a recipe for disaster. You’ll do it for two weeks, then forget. Automated scheduling is the only approach that actually works long-term. Set it up once, verify it runs, and never think about it again.
The beauty of the 3-2-1 rule is its resilience. Your studio floods? You’ve got cloud backup. Cloud service goes down? You’ve got local copies. Main drive fails? You restore from either backup. No single point of failure can wipe out your work. I’ve seen producers lose entire albums because they relied on one external drive that fell off a desk. Don’t be that person.
One critical detail people miss: your backup drives should be physically separate from your working drives. Keeping your backup drive plugged into the same power strip as your workstation means a single power surge can kill both simultaneously. Keep your backup drive unplugged when you’re not actively running a backup, or better yet, use a UPS (uninterruptible power supply) to protect your entire setup.
Step 2: Preparing DAW Sessions for Archiving
Before you back up a single file, you need to make sure your DAW sessions are actually archivable. A messy session full of broken file references and missing plugins is useless even if you have ten copies of it. I’ve opened old sessions where half the audio was missing because the files were scattered across three different drives. That’s not an archive — that’s a puzzle with missing pieces.
Here’s the pre-archive checklist I run on every project:
- Consolidate All Files: Use your DAW’s built-in feature to collect every audio file, sample, and preset into the project folder. In Pro Tools, it’s ‘Save Copy In.’ In Logic Pro, ‘Consolidate.’ In Ableton Live, ‘Collect All and Save.’ This eliminates broken file paths.
- Remove Dead Weight: Delete muted tracks, empty channels, test recordings, and unused audio files. A clean session is a smaller session, and smaller means faster backups.
- Document Your Plugins: Create a text file listing every plugin used in the session, including version numbers and key settings. Plugins get discontinued, updated, or change their preset formats. This documentation is your insurance policy.
- Print Stems: Bounce every individual track to WAV or AIFF. This is the nuclear option — even if your DAW disappears from the face of the earth, you can rebuild the mix from these stems in any software.
- Write Session Notes: Record BPM, key, hardware used, microphone placements, signal chains, and any creative decisions worth remembering. A README.txt in every project folder.
As one archiving guide on Medium puts it, metadata documentation is a gift to your future self. Six months from now, you won’t remember which reverb you used on the vocal or why you EQ’d the bass that way. Write it down now.
I personally maintain two archive versions for every project. The first is a complete archive — the full DAW session with all plugins, presets, and audio files intact. The second is an audio-only archive — every track bounced to individual WAV files. The complete archive lets you pick up exactly where you left off. The audio-only archive guarantees you can work with the material in any DAW, on any system, at any point in the future. This dual approach comes straight from Pro Audio Files’ professional backup methodology, and it’s saved me more times than I can count.
Step 3: Choosing Cloud Storage — A 2025 Comparison for Music Producers
Cloud storage is the third pillar of the 3-2-1 rule, and choosing the right service matters. Music production files are large — a single project can range from a few gigabytes to 50 GB or more. You need a service that handles big files without choking.
Based on Feedtracks’ 2025 cloud storage comparison, here are the top options ranked by value for music producers:
- Splice — Free, unlimited storage for compatible DAWs. Automatically backs up your sessions every time you save. Includes version history so you can roll back to any previous save point. If your DAW is supported (Ableton, Logic, FL Studio, and more), this should be your first install.
- Backblaze — $6/month for unlimited backup of your entire computer. Not file-sync — it’s a full system backup that runs silently in the background. The best “set it and forget it” solution.
- Dropbox — $9.99/month for 2TB. Excellent for collaboration. If you regularly share large files with clients or collaborators, Dropbox’s sharing features are hard to beat.
- Google Drive — $9.99/month for 2TB. Integrates seamlessly if you’re already in the Google ecosystem. Solid for general-purpose cloud storage.
- pCloud — $399 lifetime for 2TB. The only major service offering a one-time payment. If monthly subscriptions bother you, this pays for itself in under four years.
- IDrive — $69.66/year for 5TB. Best price-to-storage ratio on the market. Ideal if you need to back up massive sample libraries alongside your projects.
My recommended stack: Splice (free DAW session backup) + Backblaze ($6/month full computer backup) + external SSD (local backup). That’s the complete 3-2-1 system for just $6 a month. Splice handles your DAW sessions automatically, Backblaze catches everything else, and the external SSD gives you instant local access. If you need collaboration features, add Dropbox on top. But the core system works perfectly at $6.
A word on NAS (Network Attached Storage) for those with larger studios: if you’re managing multiple workstations or working with a team, a NAS like Synology or QNAP gives you centralized storage with built-in redundancy via RAID configurations. It’s a bigger upfront investment — expect to spend $300-800 for the enclosure plus drives — but for studios handling multiple client projects simultaneously, it’s the professional choice.
Step 4: Folder Structure to Archive Music Projects Your Future Self Will Thank You For
The best backup in the world is useless if you can’t find what you’re looking for. A consistent naming convention and folder structure is what separates a real archive from a chaotic pile of files.
Here’s the folder structure I’ve used for years:
Music_Archive/
├── 2025/
│   ├── 2025-01_ProjectName_ClientName/
│   │   ├── 01_DAW_Session/
│   │   ├── 02_Audio_Stems/
│   │   ├── 03_Bounces/
│   │   ├── 04_References/
│   │   ├── 05_Assets (artwork, lyrics, etc)/
│   │   └── README.txt
│   ├── 2025-02_AnotherProject/
│   └── ...
├── 2024/
├── Sample_Libraries/
└── Templates/
Three principles make this work. First, date-prefix everything — folders sort chronologically by default, which means your most recent work is always at the bottom. Second, include project and client names in the folder name so you can use your operating system’s search to find anything instantly. Third, use identical subfolder structures across every project. No matter which project you open, stems are always in 02_Audio_Stems, bounces are always in 03_Bounces. Zero guesswork, zero wasted time.
The README.txt in each project folder is arguably the most valuable file in the entire archive. It records BPM, key, gear used, plugin list with version numbers, mastering chain, signal routing notes, and any creative decisions worth remembering. I also include a brief description of the project scope — was it a full production, a mixing job, a mastering-only session? This context matters enormously when you’re looking back at hundreds of archived projects.
One more tip: use a consistent file naming convention for your bounces. I use the format YYYY-MM-DD_ProjectName_Version_Format (for example, 2025-12-10_SongTitle_v3_Master_44-16.wav). This tells you everything at a glance — when it was bounced, what project it belongs to, which version, and the technical specs.
Step 5: Automation — Escaping the “I’ll Do It Later” Trap
The biggest enemy of any backup system is procrastination. You set up a great system, follow it for a week, and then life gets busy. Three months later, your most important project has zero backups. This is why automation isn’t optional — it’s the entire point.
Here’s how to automate each layer:
- Mac — Time Machine: Connect an external drive, enable Time Machine, done. It runs hourly incremental backups automatically. Dedicate a separate drive for this — don’t use your working drive.
- Windows — Macrium Reflect: Set up scheduled backups to create daily or weekly disk images. You get full system restore capability if everything goes sideways.
- Splice Studio: Syncs your DAW sessions to the cloud every time you hit save. Version control is built in, so you can roll back if you accidentally overwrite something.
- Backblaze: Installs and runs in the background. Your entire computer gets backed up continuously without any intervention from you.
Year-end is the ideal time to audit your automation. Is Time Machine actually running? When was the last Backblaze backup? Is your backup drive getting full? As Sound On Sound notes, hard drives have a 3-to-5-year lifespan. If your backup drive is two or three years old, it might be time to replace it — before it decides to retire on its own.
Before the year ends, do one thing. Right now, copy your current working project to a second drive. Then install Splice or Backblaze — pick one, either will do. Those two actions alone make your music dramatically safer. You can build the perfect system tomorrow. But your first backup needs to happen today.
Need help optimizing your studio workflow, or looking for professional mixing and mastering with 28 years of experience behind it?
Get weekly AI, music, and tech trends delivered to your inbox.


